I've spent a lot of time recently trying to sort out how I'm going to get my "dead polygons" to look on my character. My original plan had been with texture but then I decided my character wouldn't have a proper UV map so that I could have a gradient effect from top to bottom of the character.

So with this in mind, I couldn't build a few textures and just swap them out. So I decided that I would create a duplicate of the model, but just the faces that were "dying" and layer it on top of my model with a slight offset. This worked in early tests with a static model but I knew I would have issues once I started to animate.
I didn't realise how many issues...
Once I duplicated the mesh and deleted the faces that I didn't need I needed to delete any non-deformer history otherwise when I pulled it into Unity it would still be 1 whole mesh without any missing polys. This either crashed Maya (repeatedly) or it created strange, twisted and stretched mesh shapes. I persisted with this method longer than I should have but could never manage to integrate the mesh and the animation into Unity successfully.
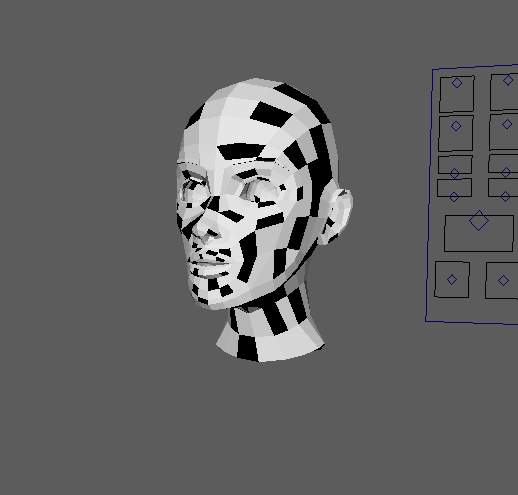
After jumping between Maya and Unity for so long I realised that the fbx file format saves all of my textures... so why not just change the texture for each dead face rather than deleting them. This worked exactly like I wanted it to so I pulled this mesh into Unity and swapped out the materials for the correct Unity black for the dead polys. Then I put a transparent texture on the white parts of the mesh.

Even then, I couldn't get the meshes to line up correctly and then it hit me; just replace the whole mesh and ta-da! It worked! Now I can finally get back to animating!


So with this in mind, I couldn't build a few textures and just swap them out. So I decided that I would create a duplicate of the model, but just the faces that were "dying" and layer it on top of my model with a slight offset. This worked in early tests with a static model but I knew I would have issues once I started to animate.
I didn't realise how many issues...
Once I duplicated the mesh and deleted the faces that I didn't need I needed to delete any non-deformer history otherwise when I pulled it into Unity it would still be 1 whole mesh without any missing polys. This either crashed Maya (repeatedly) or it created strange, twisted and stretched mesh shapes. I persisted with this method longer than I should have but could never manage to integrate the mesh and the animation into Unity successfully.
After jumping between Maya and Unity for so long I realised that the fbx file format saves all of my textures... so why not just change the texture for each dead face rather than deleting them. This worked exactly like I wanted it to so I pulled this mesh into Unity and swapped out the materials for the correct Unity black for the dead polys. Then I put a transparent texture on the white parts of the mesh.
Even then, I couldn't get the meshes to line up correctly and then it hit me; just replace the whole mesh and ta-da! It worked! Now I can finally get back to animating!

Comments
Post a Comment