The last couple of weeks have been a bit weird, I've been trying out lots of different things both in 3D modelling for my character as well as in Unity to see how the film may look. I've also looked back on my storyboards and know where I need to tweak things to make the film work.
I wasn't entirely happy with the character design and as Sang said, it needs to have good topology, especially in the face, as everything will be visible in the low poly style. So I took a head I had sculpted and retopoed in 3D Coat as a base:


I also changed the body to make it simpler as well as changing the device on her arm to be more fragmented.
At the same time I was doing regular testing in Unity to see how the character is going to work in real time as well as how certain parts of the animation was going to look. I wanted to have a play about with how the character might look, knowing that I have a fractured and abstract environment, I feel like there is a lot of room to play about with this.
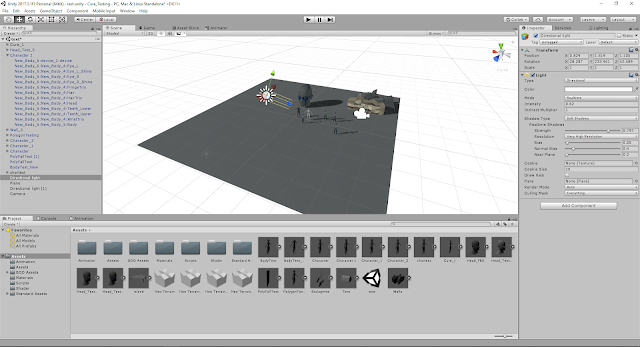
With lots of back and forth and changes and tweaks, this is how the character looks inside Unity:

The video below shows a test of how a polygon will fade and 'die' on the character. A "Change Material" script which periodically changes the material of the character. A "Change Normals" script which slowly increases the value of each normal in the character mesh, meaning the slowly get darker and this is looped to go around the character. And finally animation of the emission value on the character, this means I can get a 'pulsing' effect out of the devices.
The scripts are all written in C# and are either taken from the Unity help pages or tweaked versions of code available online.
Right now I'm working on blocking in the environment in a new project file so that I have an understanding of the scale of the environment. I also need to rig the new character model which I will probably do again using Advanced Skeleton 5.
I also mentioned that I'd looked at the storyboards and it's clear they need some work. I pulled them all together in one file so that I could easily see an framing issues and added a few notes.

I wasn't entirely happy with the character design and as Sang said, it needs to have good topology, especially in the face, as everything will be visible in the low poly style. So I took a head I had sculpted and retopoed in 3D Coat as a base:


I also changed the body to make it simpler as well as changing the device on her arm to be more fragmented.
At the same time I was doing regular testing in Unity to see how the character is going to work in real time as well as how certain parts of the animation was going to look. I wanted to have a play about with how the character might look, knowing that I have a fractured and abstract environment, I feel like there is a lot of room to play about with this.
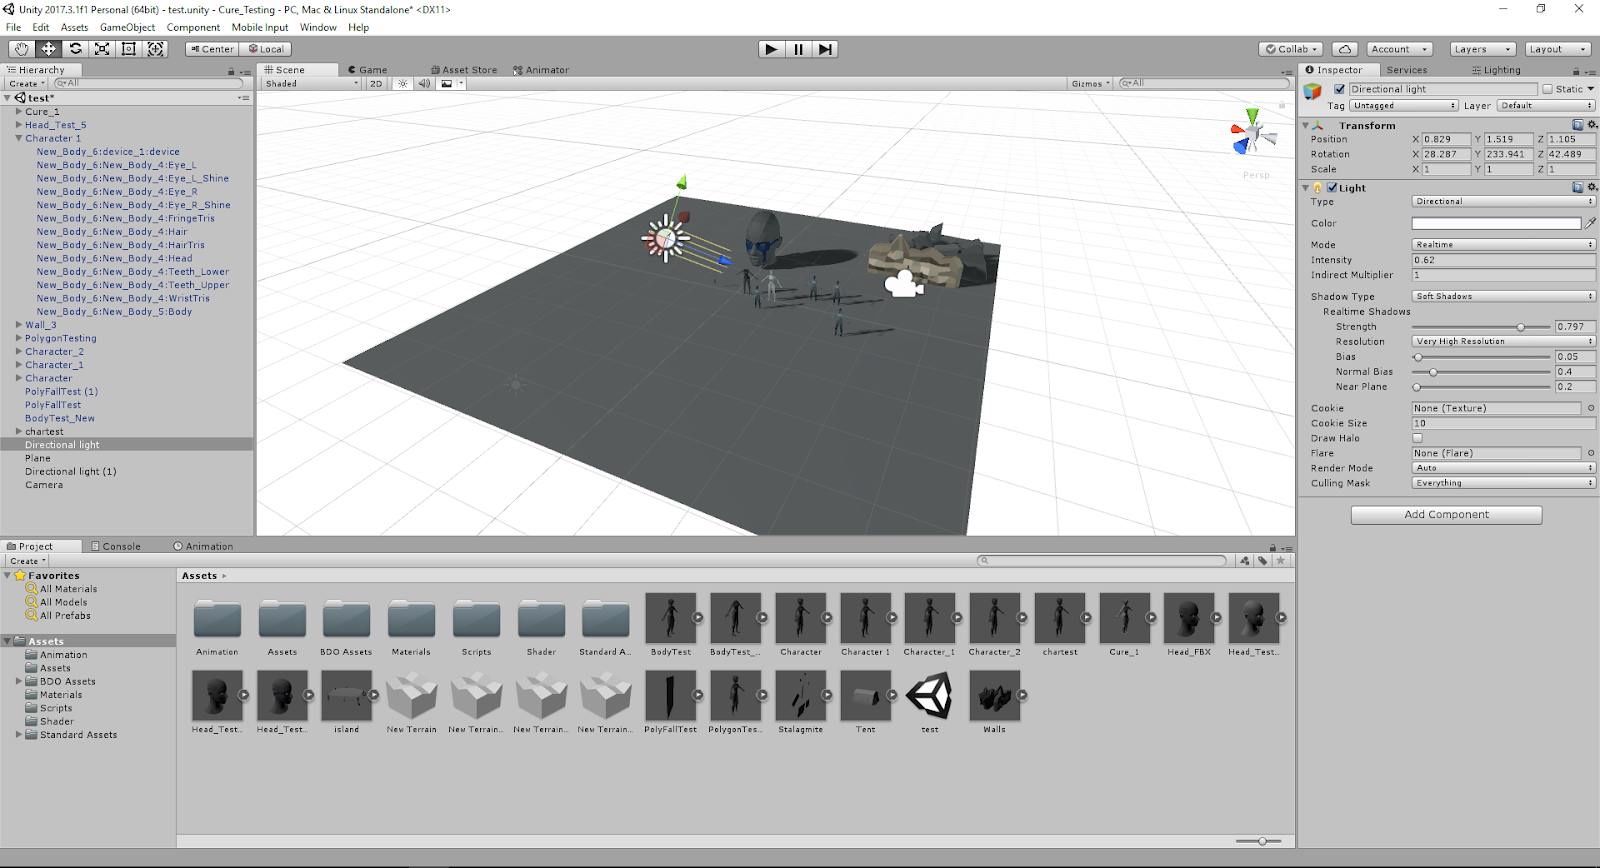
With lots of back and forth and changes and tweaks, this is how the character looks inside Unity:

To achieve the gradient effect, the character's body, head, and hair are not properly unwrapped but just have a projected planar map in the Z axis. Everything else is unwrapped including the wrist and head devices which have a emission maps meaning that the blue parts glow without having to attach individual lights to the character.
The scripts are all written in C# and are either taken from the Unity help pages or tweaked versions of code available online.
Right now I'm working on blocking in the environment in a new project file so that I have an understanding of the scale of the environment. I also need to rig the new character model which I will probably do again using Advanced Skeleton 5.
I also mentioned that I'd looked at the storyboards and it's clear they need some work. I pulled them all together in one file so that I could easily see an framing issues and added a few notes.

Comments
Post a Comment